“2008_Family_Trip,” “2012_Sports_Day”: old videos you’ve kept on your computer or an external drive, sorted into folders by year and by event. Watch them again on today’s big screens, and they look blurry. A little disappointing, isn’t it?
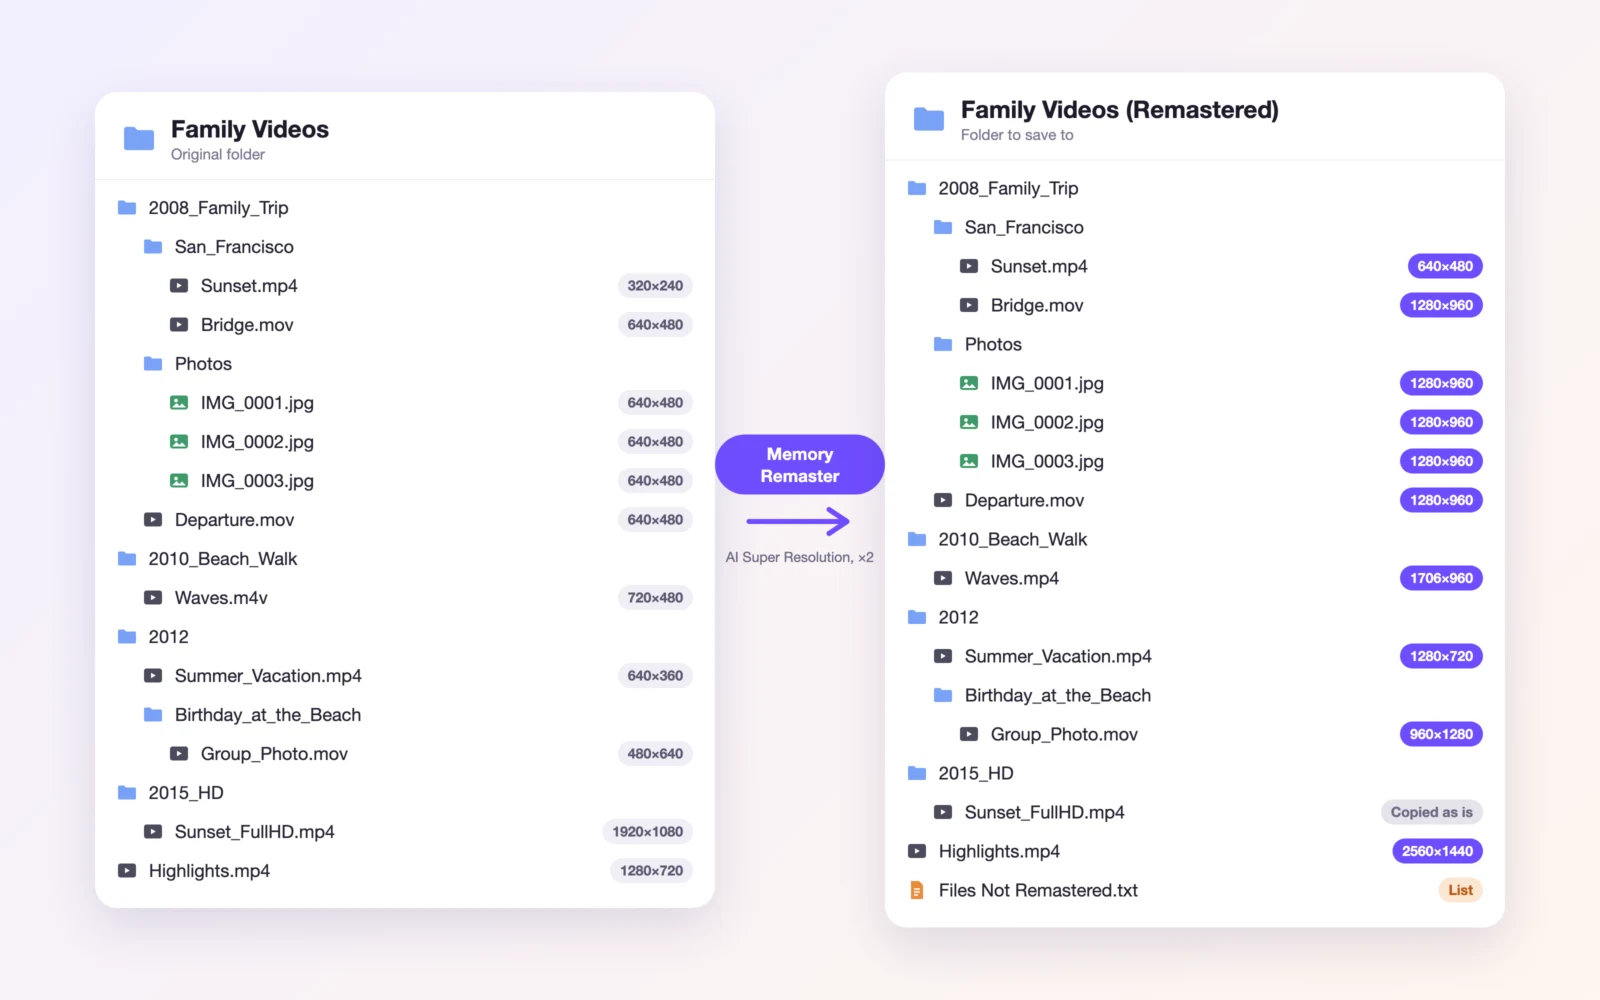
With the new Memory Remaster mode in ReMaster, you just choose that folder. It goes through every folder inside, makes every video and photo sharper with AI, and saves the results to a separate folder with the same folder structure as the original. Dozens or hundreds of videos, one operation: your memories come back to life, still neatly organized.
What Memory Remaster does
Recreates your folder structure as is
It processes every video and photo in the original folder, including all the folders inside it. In the folder to save to, the results are saved with the same folder structure and the same file names (only the extension changes to match the export format). All the work you put into sorting by year and event pays off.
Leaves your original files alone
Files are exported to a separate folder that you choose. The videos and photos in the original folder aren’t changed, so you can try it without worry.
Videos and photos, together
It processes MOV, MP4 and M4V videos and JPEG and PNG photos together. On a Mac, it can also read WMV videos taken with older digital cameras or PCs.
Copies the files it doesn’t remaster, too
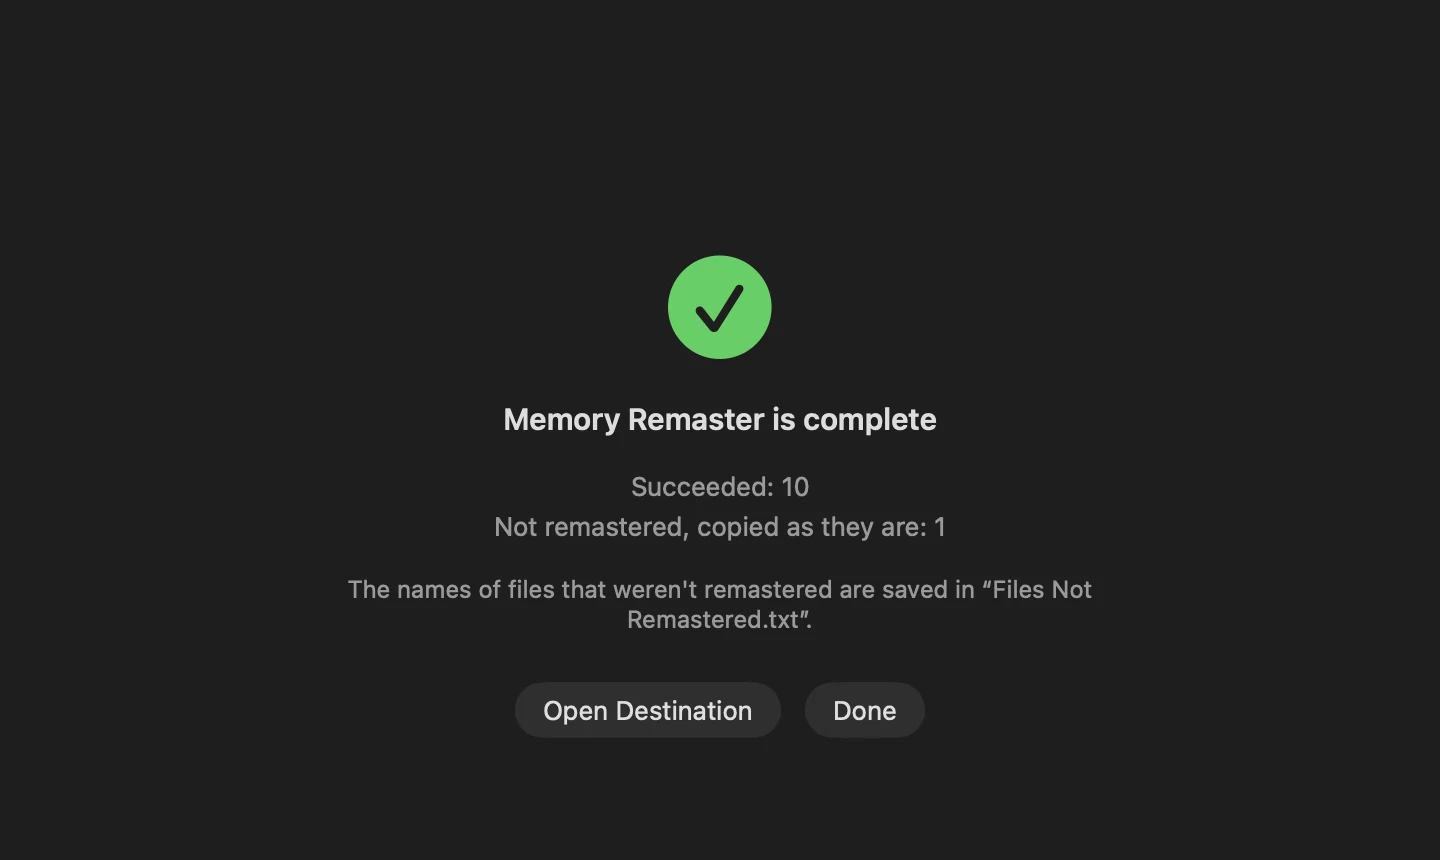
Videos that are already Full HD or larger (when you choose to skip them), files that can’t be read, files in formats that can’t be remastered such as HEIC and AVI, documents and so on are copied as they are, without remastering. The folder to save to ends up with every file from the original folder. The names of the files that weren’t remastered, and the reasons, are recorded in “Files Not Remastered.txt” in the folder to save to.
Keeps the capture date, too
The capture date and location of the original files carry over to the exported files. Sort by date, and your memories stay in order.
Just choose two folders
- Open ReMaster and choose “Memory Remaster…”
- Choose the folder that contains your videos and photos
- Choose the folder to save to (you can’t choose the original folder or a folder inside it)
- Check the settings on the confirmation screen, then press “Start”
Know everything before you start
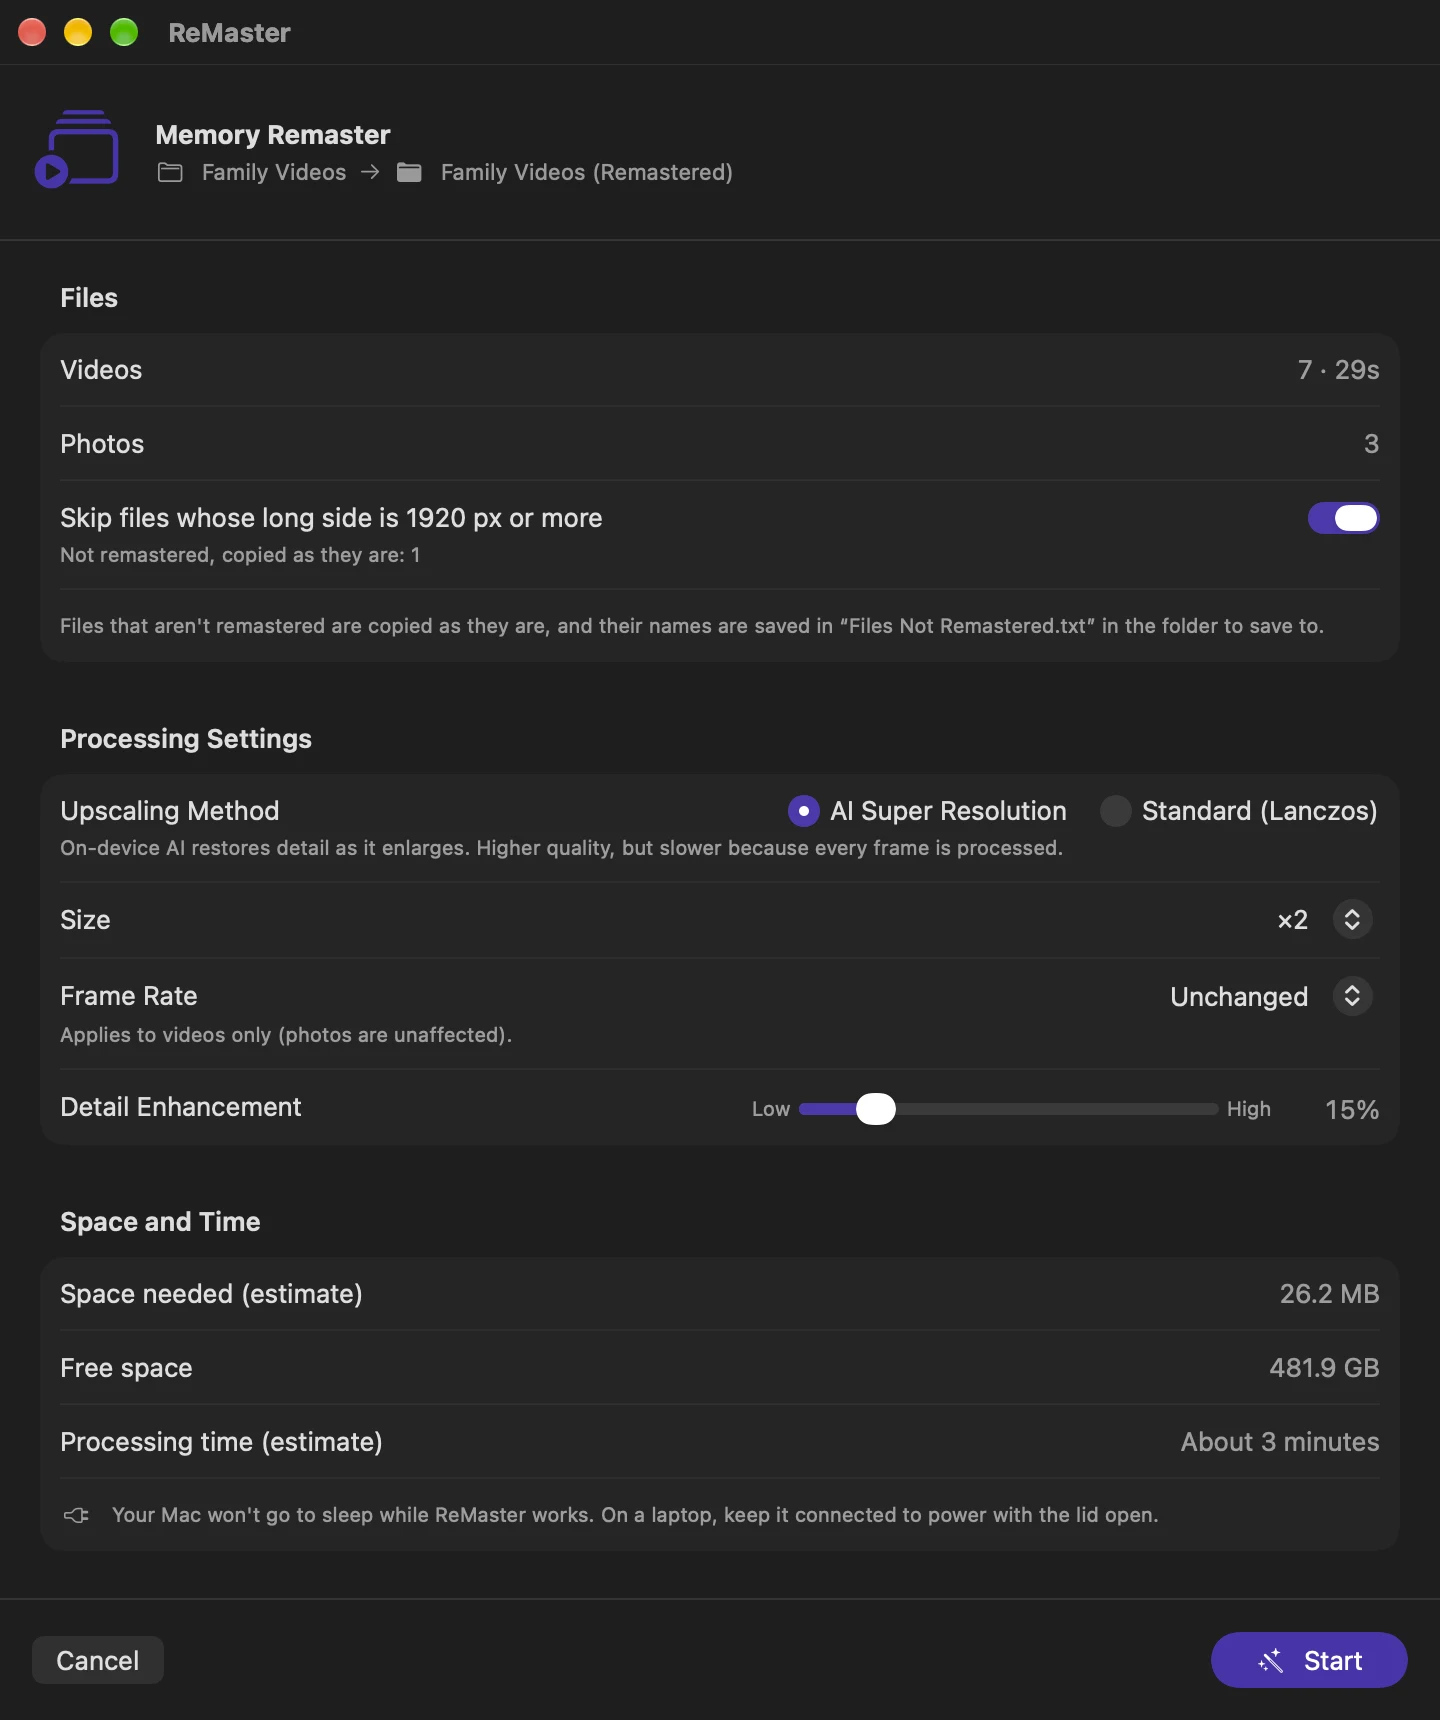
- The number of videos and their total length, and the number of photos
- The space needed for export and the free space in the folder to save to. If there isn’t enough, it tells you right there
- An estimate of the processing time, calculated by measuring how fast this device processes
- A warning when the folder to save to is on a FAT32 external drive, which can’t hold videos over 4 GB
Fine-tune the results to your taste
| Setting | Options |
|---|---|
| Upscaling Method | AI Super Resolution (high quality), Standard (Lanczos; faster) |
| Size | Original size (quality only), ×2, ×3, ×4, HD, Full HD, WQHD, 4K |
| Frame Rate | Unchanged, ×2 (Smoother), Convert to 60 fps (videos only) |
| Detail Enhancement | Low to High |
| Skip files whose long side is 1920 px or more | On or off. When it’s on, videos that are already high resolution are copied as they are |
Leave it running, however long it takes
The more memories you have, the longer processing takes. Memory Remaster is built so you can leave long jobs to it with confidence.
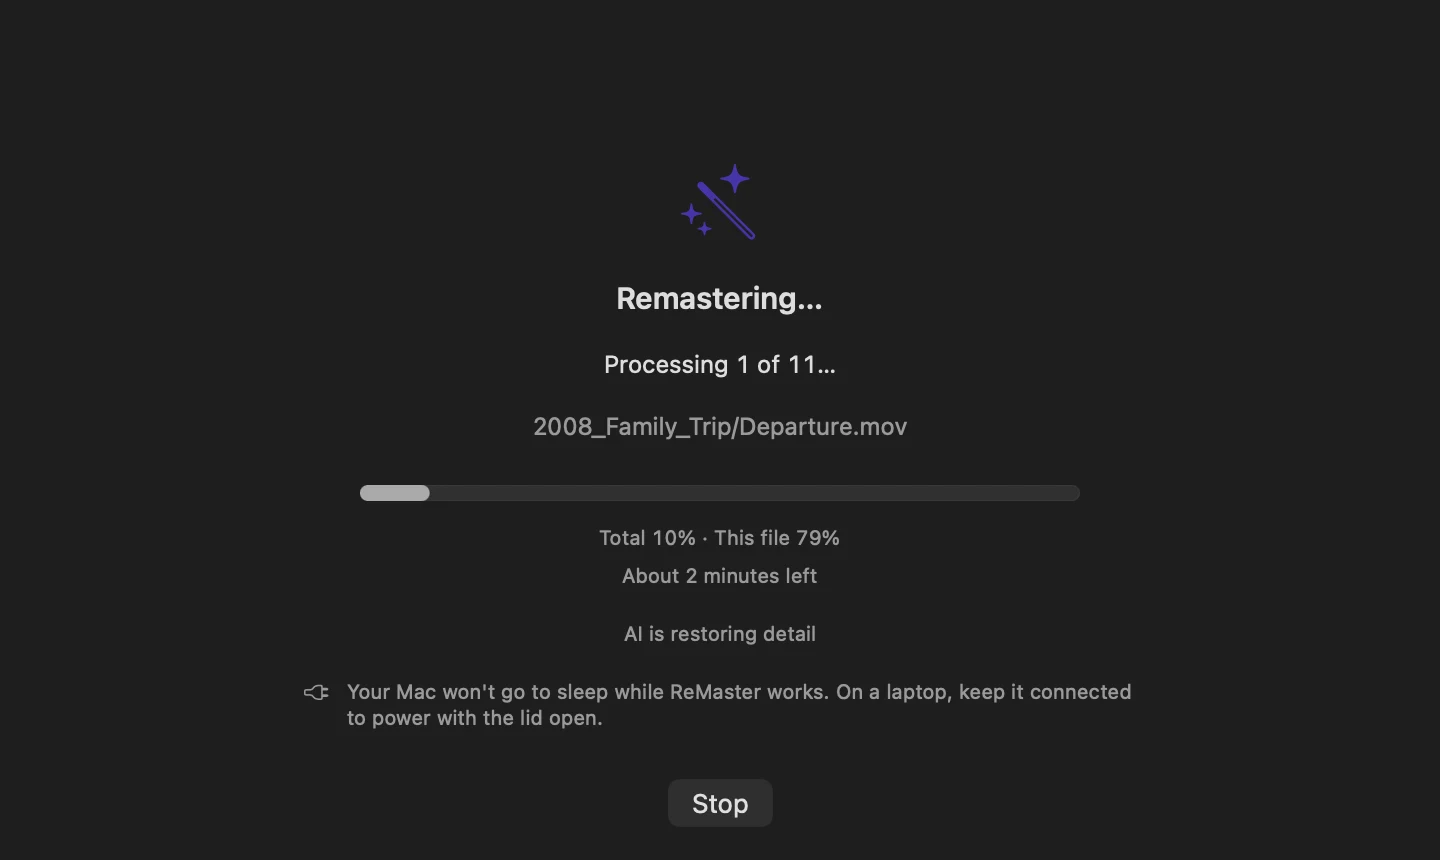
- Your Mac won’t go to sleep while it works. On a laptop, keep it connected to power with the lid open
- On iPhone and iPad, processing continues even if you switch to another app or lock the screen (on some devices, you need to keep the app open)
- It’s fine to stop partway. Choose the same two folders again, and it skips the files already exported and continues from where it left off
- If the folder to save to runs out of space, it stops there and lets you know
Sharp results
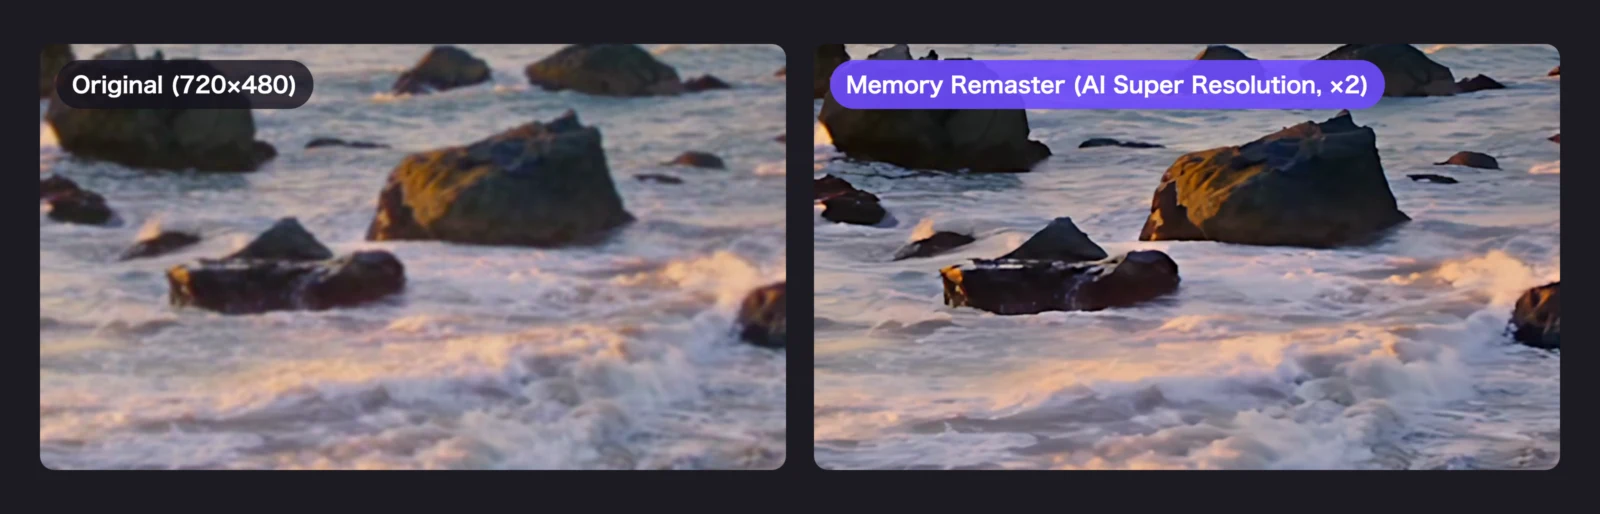
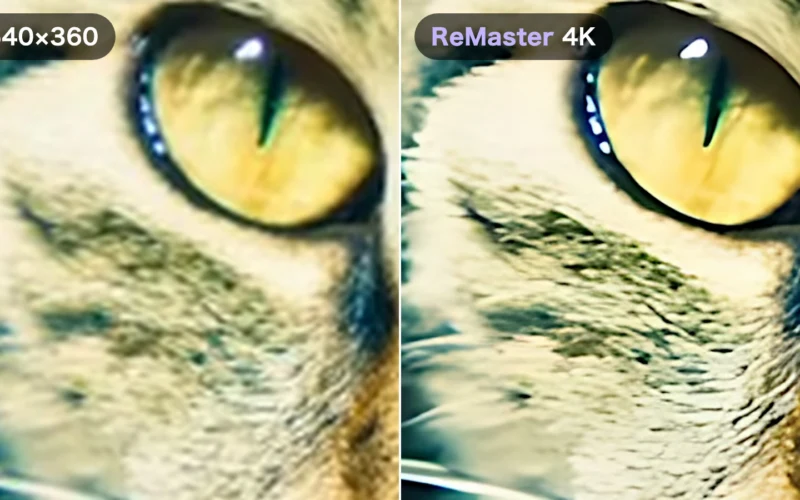
With AI Super Resolution, AI running on your device restores lost detail as it enlarges. All processing happens on your Mac, iPhone, iPad or Windows PC, and your videos and photos are never sent anywhere.
Pricing and requirements
ReMaster is free to use. If you use Memory Remaster with the free version, the ReMaster logo is added to exported videos (photos don’t get it). Buy Premium, a one-time purchase, to export without the logo. There’s no subscription.
Get it for iPhone and iPad (iOS 26 / iPadOS 26 or later) and Mac (macOS 26 or later) on the App Store, and for Windows (Windows 11 22H2 or later) on the Microsoft Store. The Windows version also has Memory Remaster mode, but files it doesn’t remaster are skipped instead of copied.